
When you log into your Salsify account, you will be directed to the Salsify Home Screen where you'll see an overview of your Essendant products. This is where you'll return to begin updating and submitting product information.
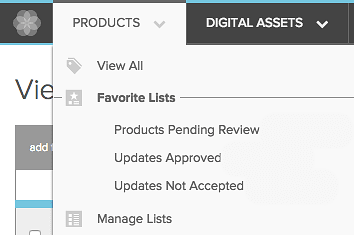
Products Menu
Selecting the Products Menu lets you navigate to the View all Products page, access Favorite Lists and the Manage Lists Page.
- The View All Products page is Salsify Homescreen, if you ever want to go back to this page you can either go to the Products Menu and select “View all Products” or, you can click on the Salsify Flower.
- Favorite Lists are product lists that have been marked as Favorites on the Manage Lists Page.
- The Manage Lists Page is where you can create, view and edit lists of products.
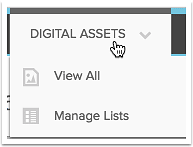
Digital Assets Menu
Select the Digital Assets dropdown menu and navigate to View All Digital Assets and the Manage Digital Asset Lists Page. This is where you will manage the images you are publishing to Essendant .
- The View all Digital Assets page where you can view images currently in Salsify and upload new images.
- The Manage Lists Page is where you can create, view and edit lists of digital assets in Salsify.
Search Bar
Quickly search for individual products and digital assets from the Search bar. The first five products and assets that match your search will be shown in the dropdown menu.

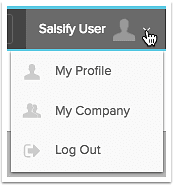
User Menu
By selecting the User dropdown menu, you can view your Salsify Profile, and invite additional users to Salsify. If you have other people in your organization to help you refresh your product content, you can invite them as users.
To learn more about how to invite additional users to Salsify, click here.
Help Menu
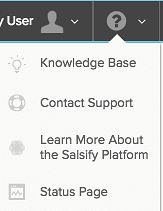
By selecting the Help Drop-Down menu, you can:
- Visit the Knowledge Base
- Contact Support with questions
- Learn more about the Salsify Platform
- View the app Status Page for Salsify's current operation status. You can also subscribe to platform status alerts.
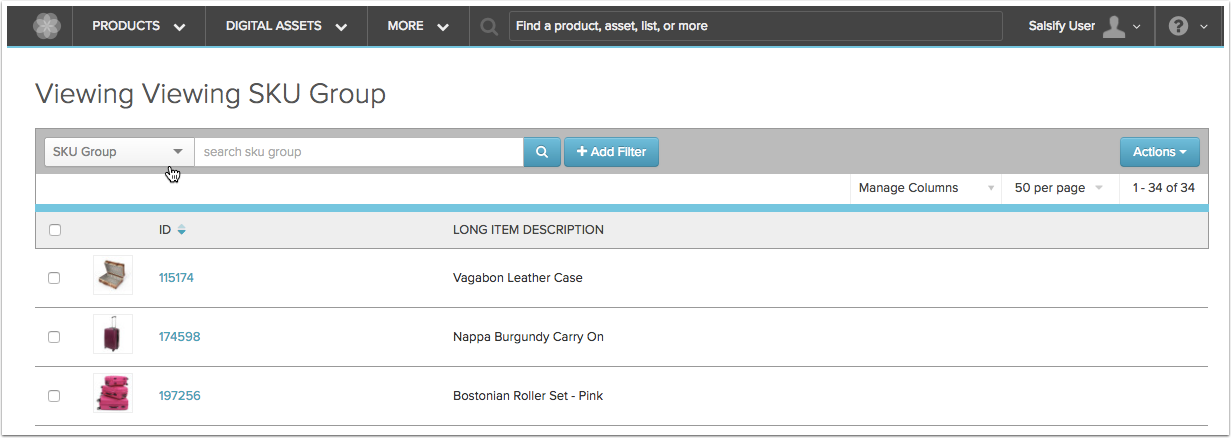
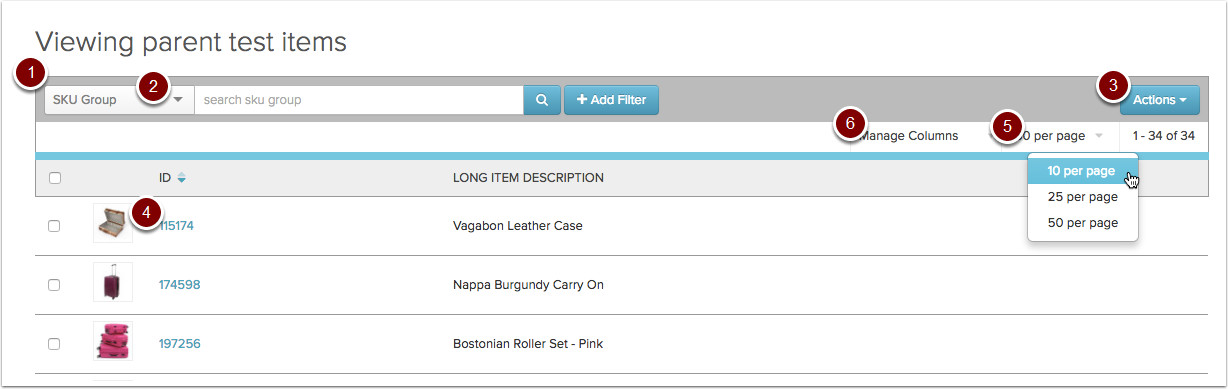
Viewing the Product Index Page
The product index page displays a list of all the SKU Groups and SKUs in Salsify.
- Use search and filters to create a subset of products based on a combination of attributes. Click here to learn more.
- By default, you will see in the list. Use the dropdown to toggle between
SKU Group
level view and sku level view.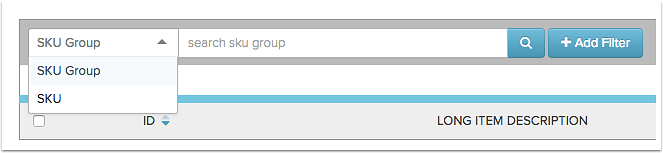
- Selecting the blue Actions button allows you to download product information from Salsify as well as view the Essendant Readiness Report by clicking Analyze Readiness.
- Selecting the Item Number link for any product or sku group will bring you to the corresponding page. This page will have all of the property values for that specific product or sku group.
- Click change the number of items shown on this page.
- Click next to navigate to the next page of results.
Create Custom View
You can customize which columns show up when viewing a list of products on the product index screen.
- Click the Manage Columns dropdown menu at the top of the screen.
- Select Custom View.
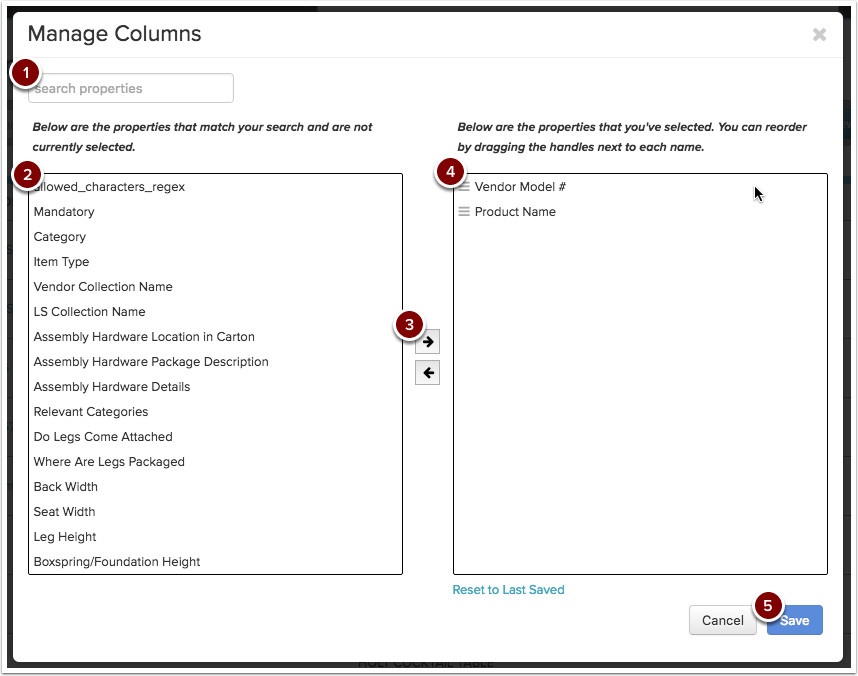
On the custom view screen, everything in box on the right is what currently appears in your view, in order (top to bottom is left to right on your view). The box on the left contains all the available properties to add to your view.
- Select the properties you want to add to the screen from the list on the left-hand side, then drag and drop or shift-click a group and use the right-facing arrow to move them to your export, on the right side of the screen.
- Alternatively, you can move the property by clicking the arrow button pointing to the right, or you can select a range of properties on the left, then use the arrow to move them all to the right at once.
- You can drag and drop the columns on the right up and down to re-arrange their order.
- Click Save to update your current product view.
Your selected columns will instantly become available on the View Products screen.